|
"The rear side of a floppy drive looks similar to
the following image."*
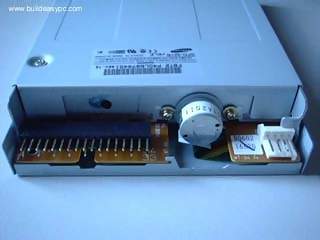
"The black connector on the left hand
side is the floppy disk connector. It is different from the IDE connector
and uses a different cable. The small white connector on the right hand
side is the power connector for the floppy drive. Figure 1 and 2 below
shows what a floppy drive cable and floppy drive power connector looks
like."*
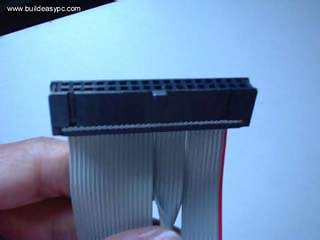
Figure 1 - Floppy drive cable.**
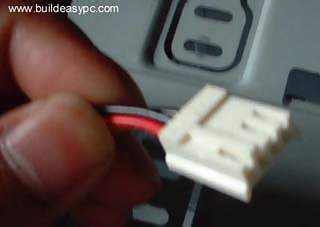
Figure 2 - Floppy drive power cable**
"Place the floppy drive into the FDD mounting slot
as shown. Screw the drive securely into place."*

"Insert the floppy drive cable into
the floppy drive connector. Make sure the pin 1 on the cable connects
to the pin 1 on the floppy drive connector. As you already know by now
that pin 1 is the red or pink strip on the edge of the floppy drive cable.
Most floppy drive cables are designed so that it will only go in on way,
so you can not connect it incorrectly."*

"Push the floppy drive power cable
to the power connector. This will only go in on way."*

"Finally connect the other end of the
floppy drive cable to floppy drive connector on your motherboard. Make
sure pin 1 on the cable connects to pin 1 on the connector."*
|